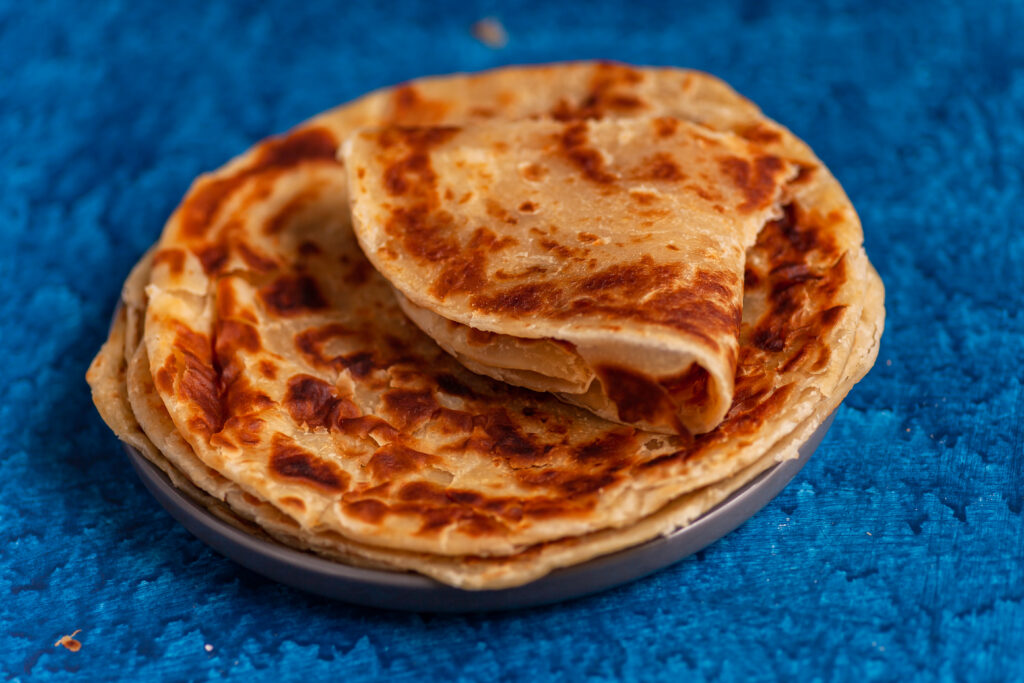
Chapati! Chapati! How many times did I call you? Making chapati is a rite of passage for most women in Kenya.
In fact, chapati has been a favourite meal since the days of my childhood.
My earliest memories of eating chapati go back to seating next to my mum as she kneaded the dough, rolled and cooked on a cast iron rugio (pan).

Ah, the aroma filling our tiny house would make us so happy.
Mum would then give my brothers and me the first chapati, still piping hot and delicious, to satiate our excitement.
Not only were such moments precious, but also quite rare as cooking chapos, as we call them in Kenya, was an expensive affair for my single mother.
Subsequently, I did not take an interest in cooking chapati, as I found the task laborious. Buying ready-made ones became an easy short cut.

Having children has made me rethink how I can use food to create memories and pass on elements of the Kenyan culture that I love.
As a result, I am casting myself into the wonderful world of making soft chapos.
The look on my sons face as they tear through freshly cooked chapos is priceless.
More reason enough for me to take pleasure in this culinary delight.
So, without much ado, here is an easy soft ghee chapati recipe.
Recipe Notes:
- You can use other vegetables, though not olive or coconut oil.
- Hot water activates gluten. Use it!
- Some people like to add sugar for a sweeter chapati. I prefer my chapatis savoury.
- You can also add pumpkin or butternut puree, just half the water and replace it with the puree.
- Cooking chapati longer than a minute will lead to dried up chapatis.
- If the dough is too sticky after adding hot water, allow it to cool before you panic and add too much flour.
- Dust off any excess flour from the rolled chapatis before you place it on the pan for cooking.
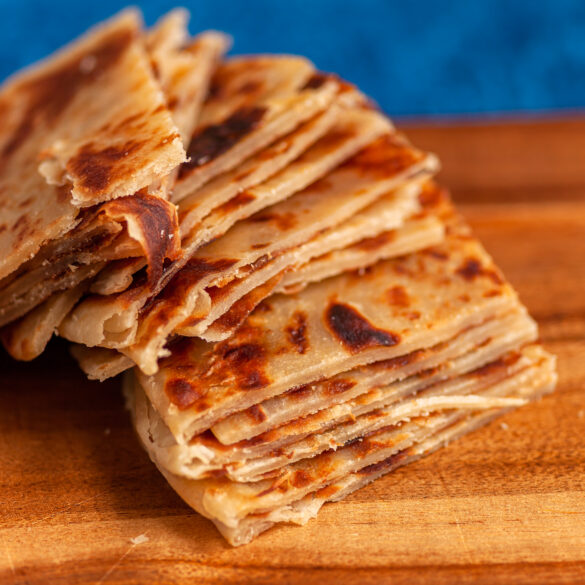
- You must cover the chapatis once they are done; pressing them together (ouch, they are hot!) helps soften them even more.

Ingredients
Ingredients
- 3 cups wheat flour (preferably high gluten flour)
- 1 tsp fine salt
- 2-3 tbsps ghee (or high fat shortening)
- 1.5 cups of hot water (a little extra for kneading)
- 1 extra cup of flour for dusting
- 3 tbsp melted ghee for frying.
Instructions
Method
· Place 3 cups of flour and add salt in large bowl.
· Rub in the ghee, then gradually add the hot water, or enough to form a firm dough.
· Mix with a wooden spoon. If the dough is sticky, let it cool for 10 minutes.
· If using a stand mixer, use a dough hook and let it mix for 10 minutes.
· If kneading by hand, turn the dough on a well-flour surface and knead for 10 minutes until smooth.
· Should you notice that the dough is too sticky, add a little flour at a time until a firm dough form. Don’t add too much flour.
· Place the dough into a bowl and cover with a kitchen cloth or plastic wrap and set aside for one hour.
· Divide the dough into 14-16 ports and roll into 15 circles.
· Brush the rolled out chapati with melted ghee and form spiralled balls, repeat the process, then cover and let the oiled dough rest for 10 minutes.
· You can also roll the dough balls into a circle, cut each circle at the centre then roll tightly to form a cone shape, press each cone shaped ball down on the pointed top.
· Reroll the oiled dough balls into a 15 cm (5inches) circle.
· Head a thick bottomed pan or tawa on medium heat.
· Cook one chapati at a time, dry frying each side until brown bubbles appear, then brush each side with ghee, flattening the surface with a spoon or flipper until both sides are golden brown.
· Repeat this process with all chapatis, cooking each side for 15-20 seconds.
· Place the in a clean kitchen towel, inside a bowl and cover tightly with a lid. This step will keep your chapatis warm and soft.
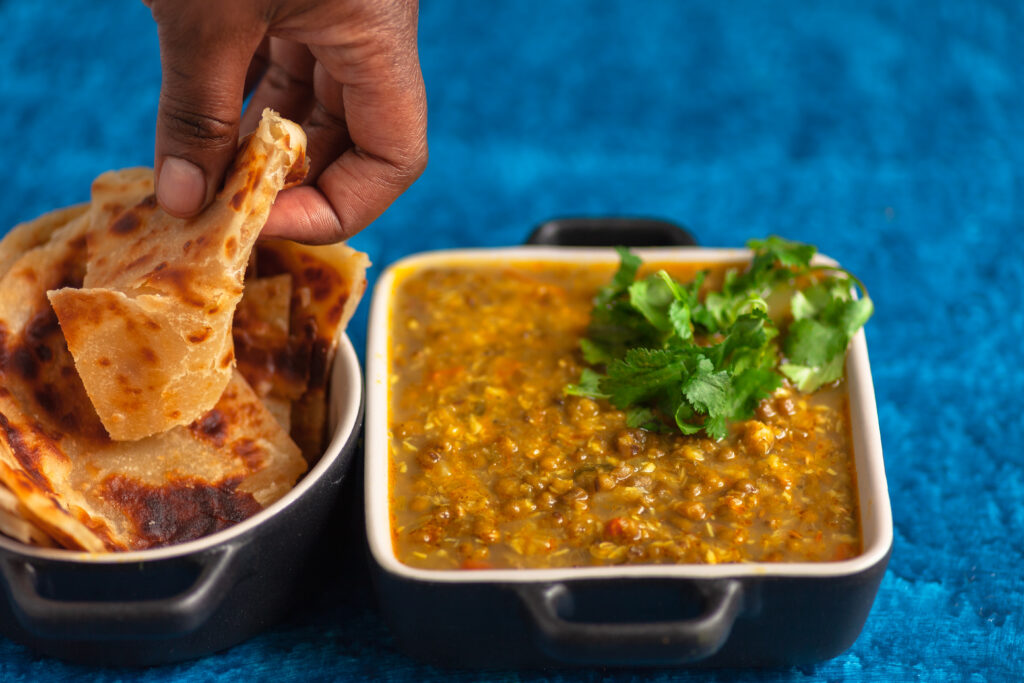
· Serve with your favourite stew.
